How To Install Center Mount Drawer Slides
How To Install Center Mount Drawer Slides - Web steps to install drawer slides without a jig: Web learn how to install drawer slides easily and accurately for drawers that fit right. How to take apart the slide for installation. And both halves need to be level, positioned. Drawer slides roller slides upload document thumbnail image: Using a drill or screwdriver and the screws provided with the kit, screw the slide marked dr to the bottom right of the drawer. This allows for 1/2″ on each side for the side mount drawer slides to fit into. Web center drawer slide installation made easy key measurements to take. The slide should fit flush and behind the drawer front. Gently push down on the drawer slide. Line up the bottom of the drawer slide with the cabinet mount, and ease it on. And both halves need to be level, positioned. Web center mount slides top mount slides undermount slides side mount slides not sure which slide you need? The drawer slide should now be in place. Learn about the two main types of slides, the tools. Set the retention clips in place against underside of drawer. When you’re building projects with drawers, installing the slides can be one of the most challenging tasks. How to take apart the slide for installation. For inset drawers, align the slide flush with the drawer front and centered across its width. The slide should fit flush and behind the drawer. Web cabinetparts.com demonstrated the easy to install accuride 1029 center mount drawer slide. Web align the cabinet mount so it is centered over the mark, flush with the opening, and use one screw to attach it. Architecture cabinet makers distributors home owners oems retailer For inset drawers, align the slide flush with the drawer front and centered across its width.. Set the retention clips in place against underside of drawer. Attach the screws that come with the drawer slides. Web determine the height of the slides from the bottom of the cabinet. Web carefully, place the drawer mount on top of the glue area on the bottom of the drawer. Web steps to install drawer slides without a jig: Web place the cabinet slide in a way that the bottom of the slide is in line with the line you drew on the cabinet side. Attach the screws that come with the drawer slides. Make sure the slide is behind the mark you made for drawer thickness. Learn about the two main types of slides, the tools and materials. This way, you only have one height measurement. Amazon affiliate link (s):bottom mount drawer slides: Web installation sheet for 1175. This allows for 1/2″ on each side for the side mount drawer slides to fit into. How to take apart the slide for installation. Web 421k views 12 years ago heavy dresser drawers can be a real drag when they slide on wooden runners. Now hold the slide in place with one hand and slide the intermediate drawer so you can access the cabinet slide. Over the last 10 years of installing hundreds of drawer slides, i’ve come up with a unique method that. Over the last 10 years of installing hundreds of drawer slides, i’ve come up with a unique method that makes installing full extension drawer slides easy. Web steps to install drawer slides without a jig: Web center drawer slide installation made easy key measurements to take. Clean up the glue on each side smoothing out the glue on the edges.. Install the slide on the drawer. The width of your drawer usually needs to be 1″ shorter than the inside with of your drawer box. When you’re building projects with drawers, installing the slides can be one of the most challenging tasks. Well, for beginners one of the side mounts from our guide to soft close slides is easy to. This way, you only have one height measurement. Repair your broken furniture or dresser drawers with ease. Using a drill or screwdriver and the screws provided with the kit, screw the slide marked dr to the bottom right of the drawer. Web 421k views 12 years ago heavy dresser drawers can be a real drag when they slide on wooden. Lastly, place a weight on the drawer and slide and let it dry! Line up the bottom of the drawer slide with the cabinet mount, and ease it on. Web align the cabinet mount so it is centered over the mark, flush with the opening, and use one screw to attach it. Web center drawer slide installation made easy key measurements to take. Over the last 10 years of installing hundreds of drawer slides, i’ve come up with a unique method that makes installing full extension drawer slides easy. Architecture cabinet makers distributors home owners oems retailer Make money when you sellbuyer protection programreturns made easytop brands Align the slide with the drawn line and drill holes for the screws, using some tape to keep the slide in place. And both halves need to be level, positioned. Attach the screws that come with the drawer slides. Web steps to install drawer slides without a jig: Amazon affiliate link (s):bottom mount drawer slides: Web center mount slides top mount slides undermount slides side mount slides not sure which slide you need? Center the slide and attach it with screws at the front and back, photo below. Gently push down on the drawer slide. Web learn how to install drawer slides easily and accurately for drawers that fit right.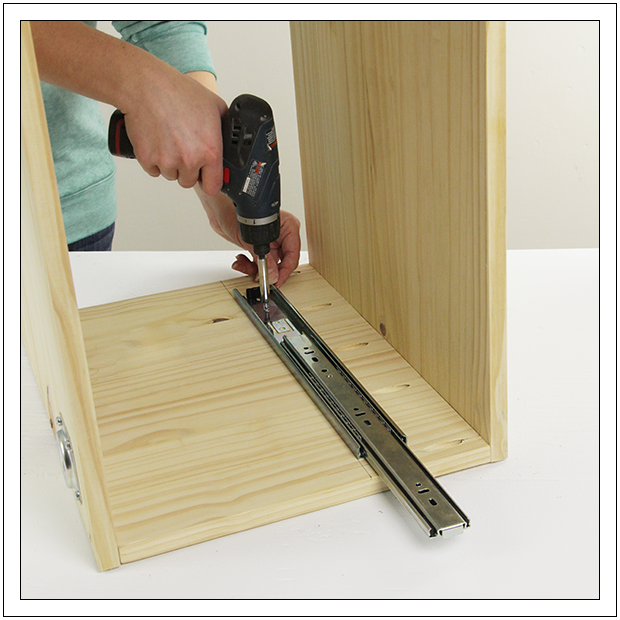
How to Install Drawer Slides ‹ Build Basic

How To Install Kitchen Drawer Slides Our Home from Scratch

Tips installing a centerline drawer slide YouTube

How To Install Drawer Slides Easily and Accurately YouTube

Drawer slide install YouTube
{Modifying} Classic Wood Center Mount Drawer Slides Sew Woodsy
How to Install Drawer Slides The simple and easy way!
{Modifying} Classic Wood Center Mount Drawer Slides Sew Woodsy

How to Install Drawer Slides 11 Diy slides, Installing drawer slides
How to install drawer slides step by step YouTube
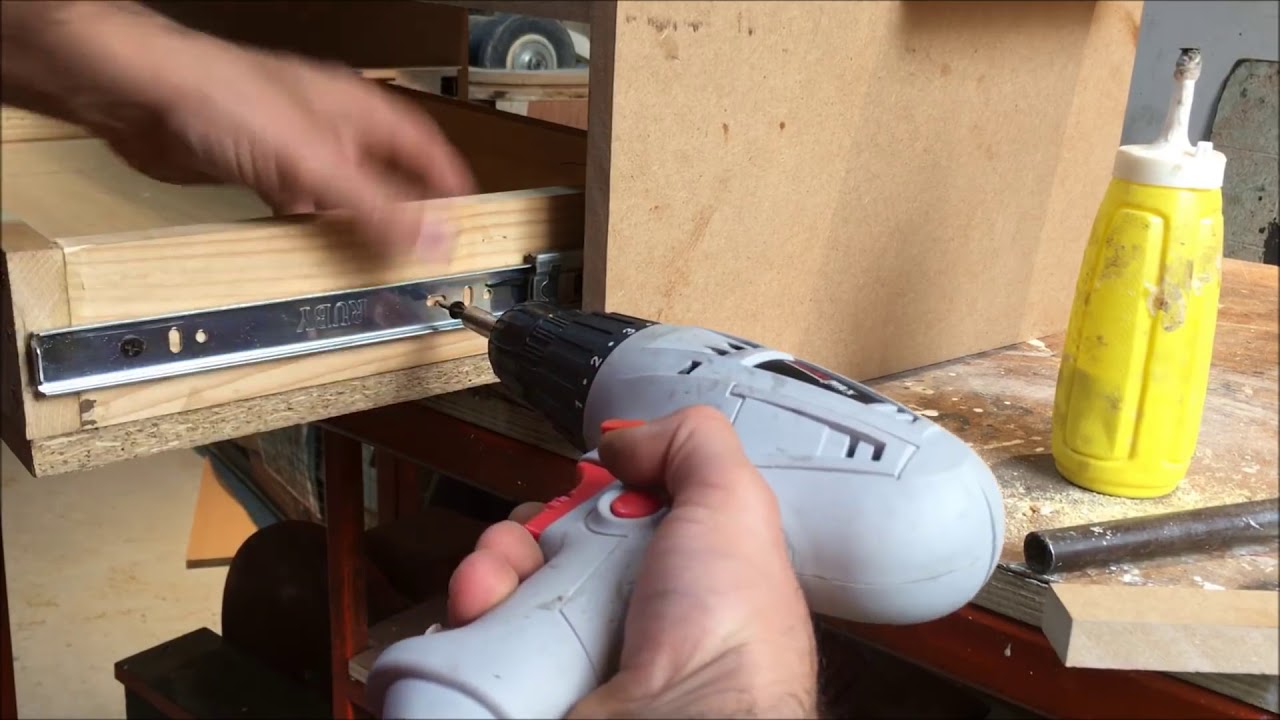
Using A Drill Or Screwdriver And The Screws Provided With The Kit, Screw The Slide Marked Dr To The Bottom Right Of The Drawer.
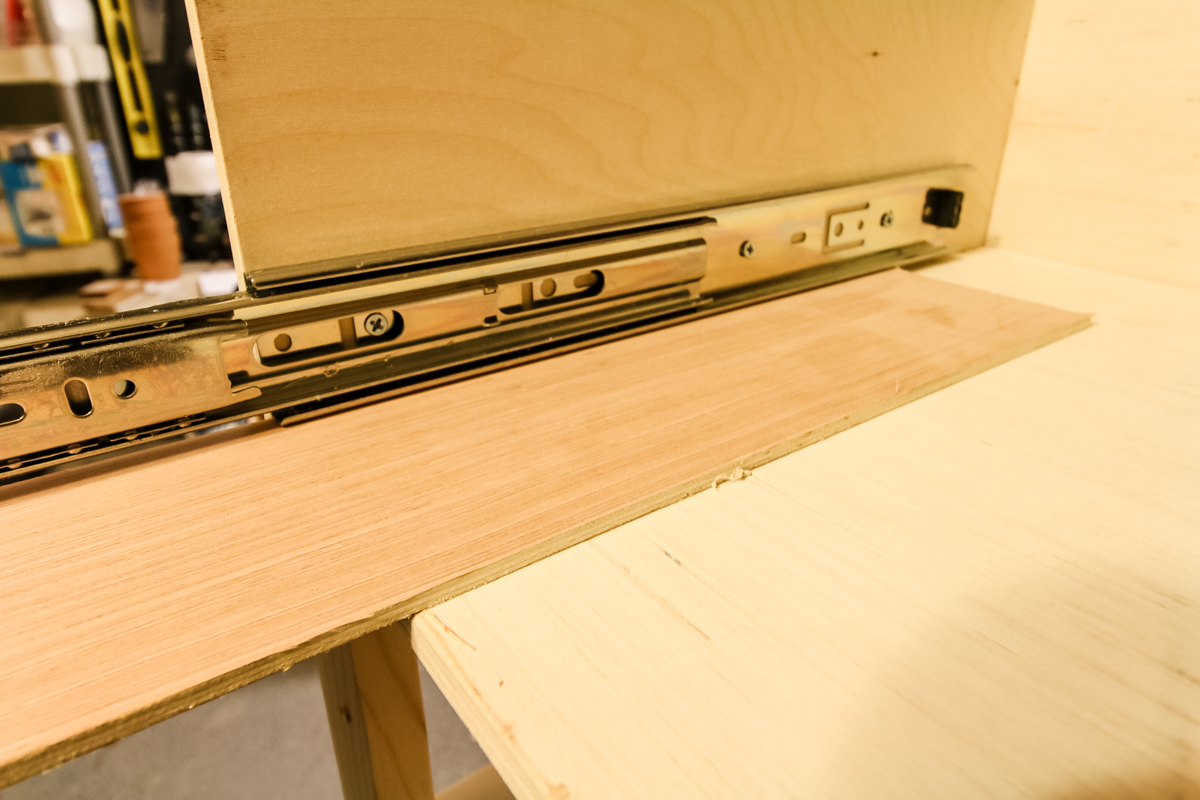
Now Hold The Slide In Place With One Hand And Slide The Intermediate Drawer So You Can Access The Cabinet Slide.
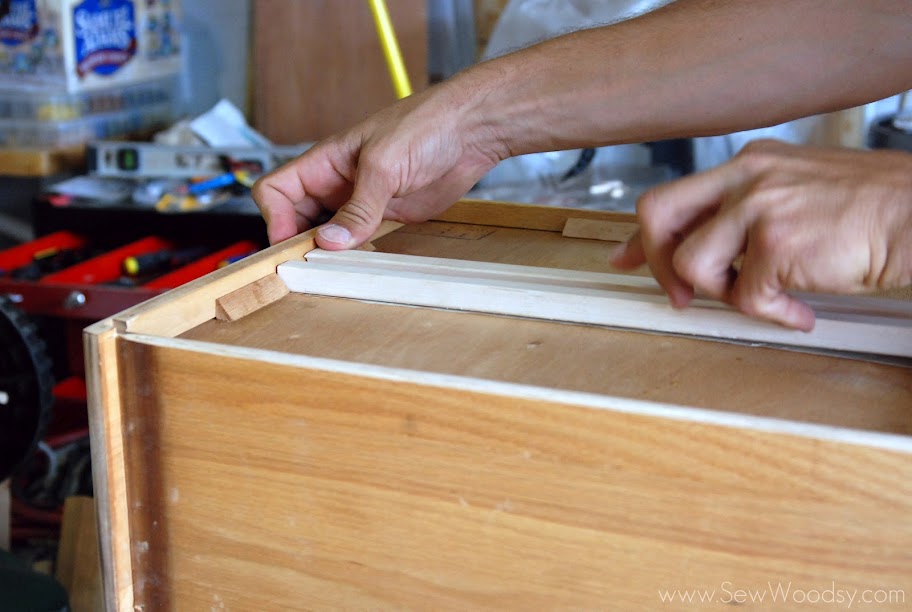
Set The Retention Clips In Place Against Underside Of Drawer.
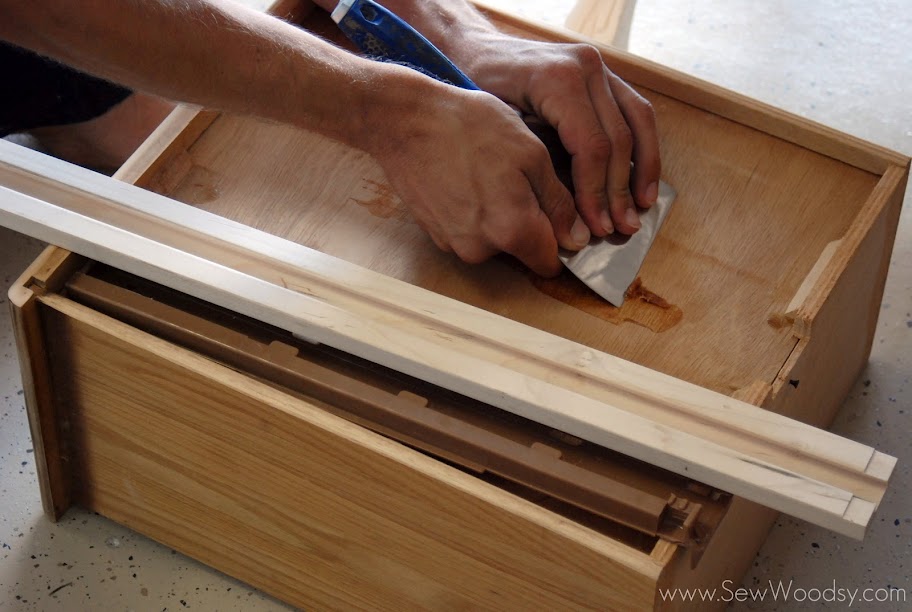
Clean Up The Glue On Each Side Smoothing Out The Glue On The Edges.
Related Post: